Yield: Bubble Letters
How To Draw Bubble Letters
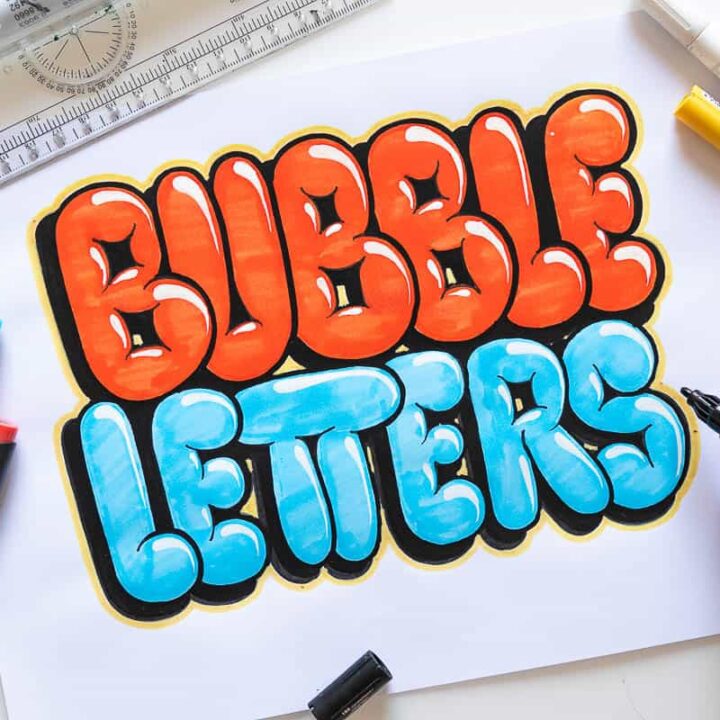
This is a step by step tutorial that will teach you how to create bubble letters. We are going to start with the basic letter construction and proceed by adding shades and other effects. Once you will feel comfortable enough with the basics, you will be able to start tweaking and bending shapes in different ways to create your very own unique style. Bubble Letters are fun and easy to make, and best of all it can be created with a variety of different tools (pens, markers, etc.)
Prep Time
5 minutes
Active Time
20 minutes
Additional Time
15 minutes
Total Time
40 minutes
Materials
Tools
Instructions
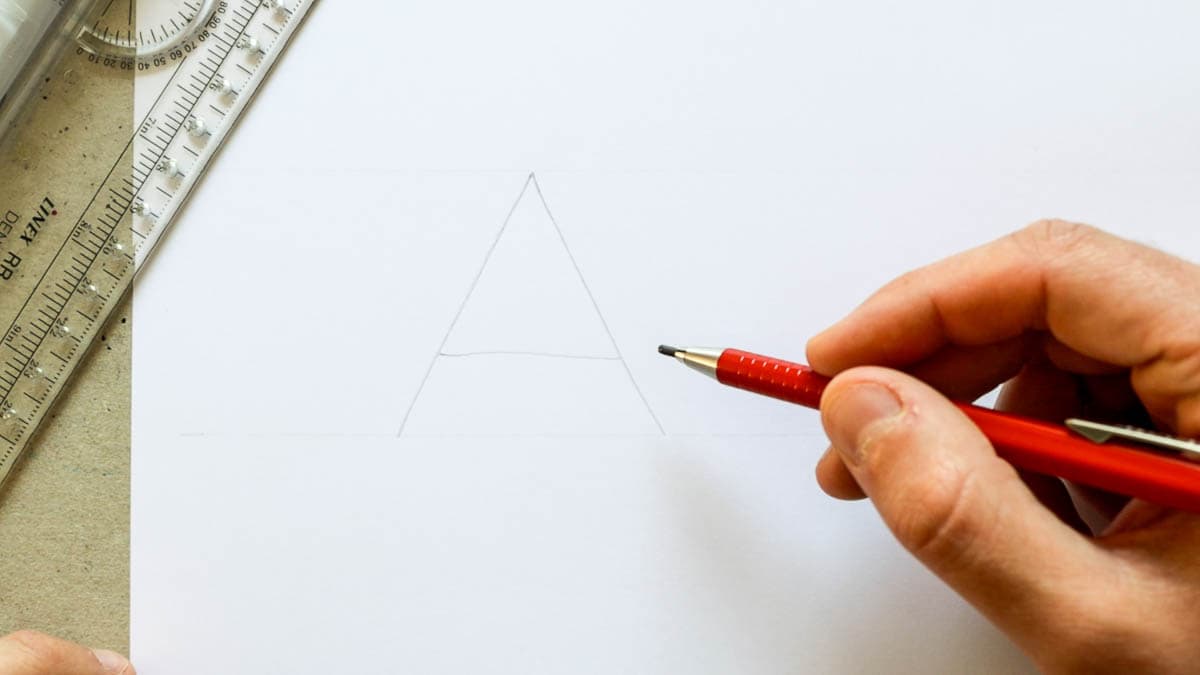
- The basic construction of bubble letters - write a simple letter A
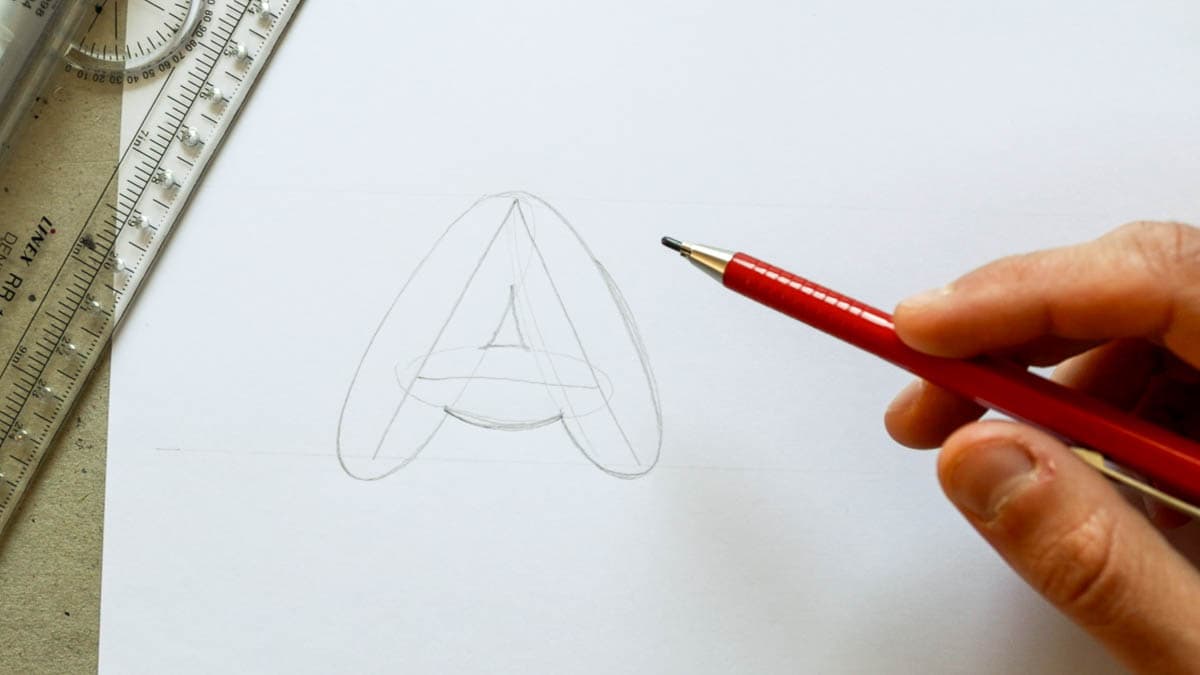
- Thickening the letters by adding an outline. Feel free to determine the thickness - a thicker outline will make them look more ''bubbly'' while a thinner outline will achieve the opposite look. It's important to keep a consistent thickness from both sides of the letter. The easiest way to do this is by breaking down the letter into individual parts. The letter A consists of three parts - two diagonals and a smaller horizontal crossbar. Break down the letters and create a bubbly outline around them. Like so -
- Using the fine liner, outline your letter and erase the pencil marks. Be sure to let the ink dry before you erase the pencil marks, to avoid any ink smudges.
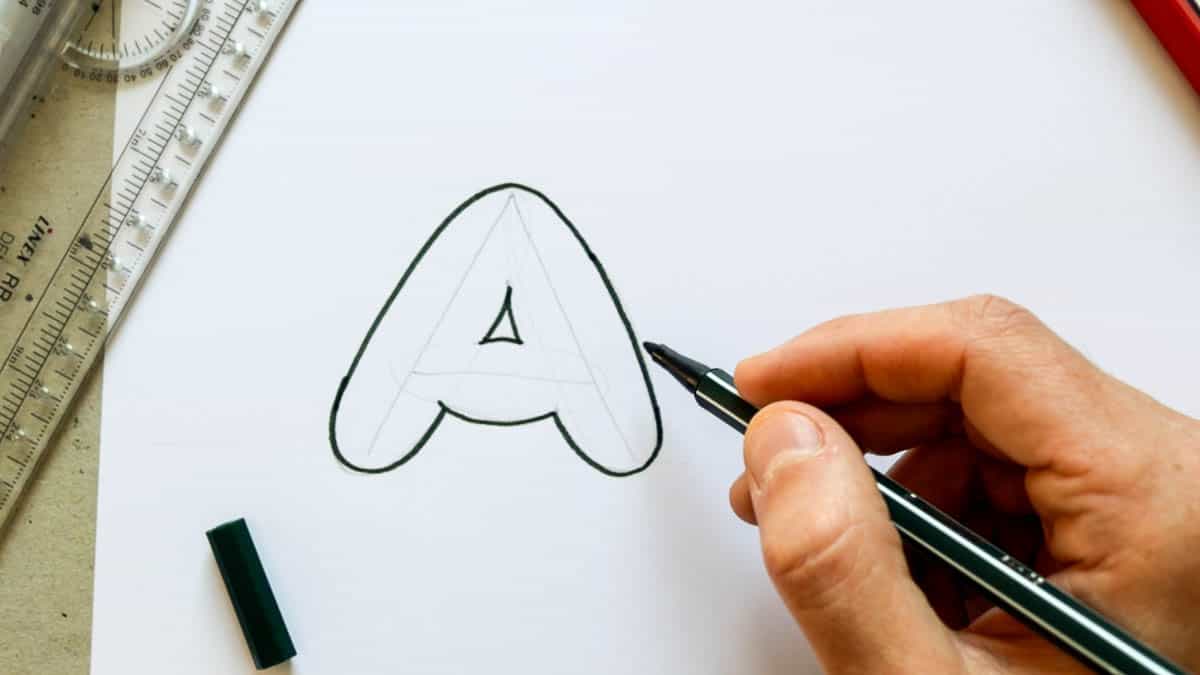
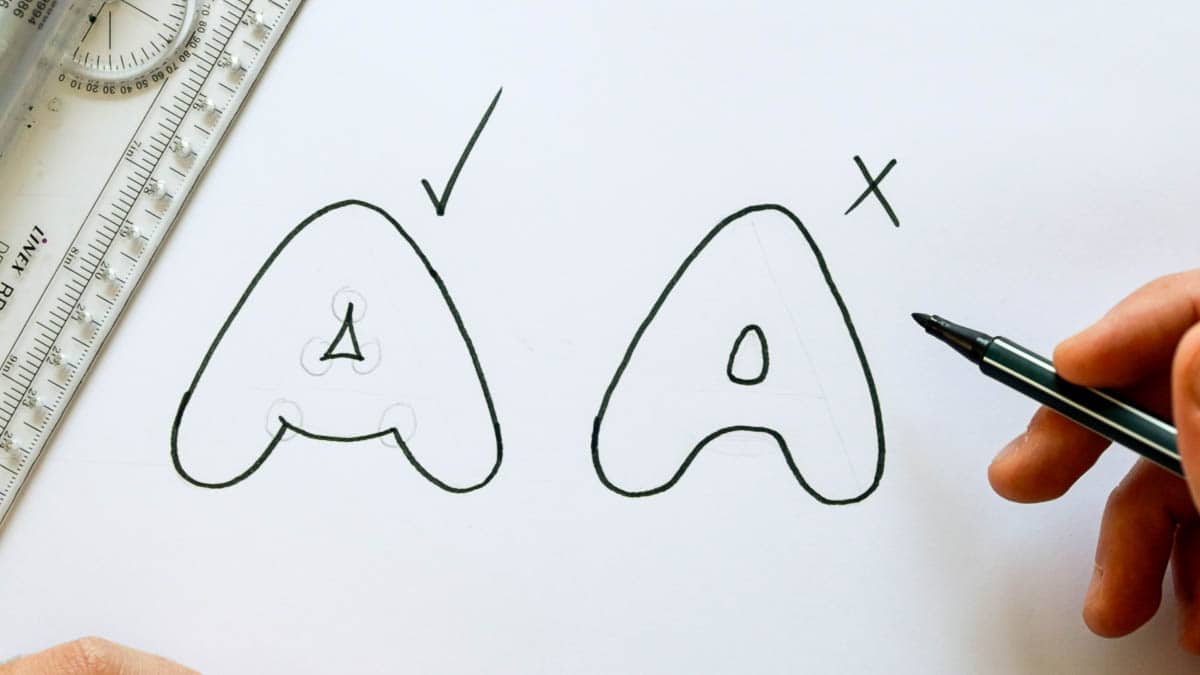
- Although the outside edges should be rounded, making the internal edges sharp, will give your bubble letters a more puffy look. Here is an example -
- Add shadows, highlights, and other effects to achieve different looks and styles. Start from the basics, and gradually create more complex designs.

Notes
Check out the full step by step tutorial for more details on how to apply shadows, and different effects to your bubble letters.